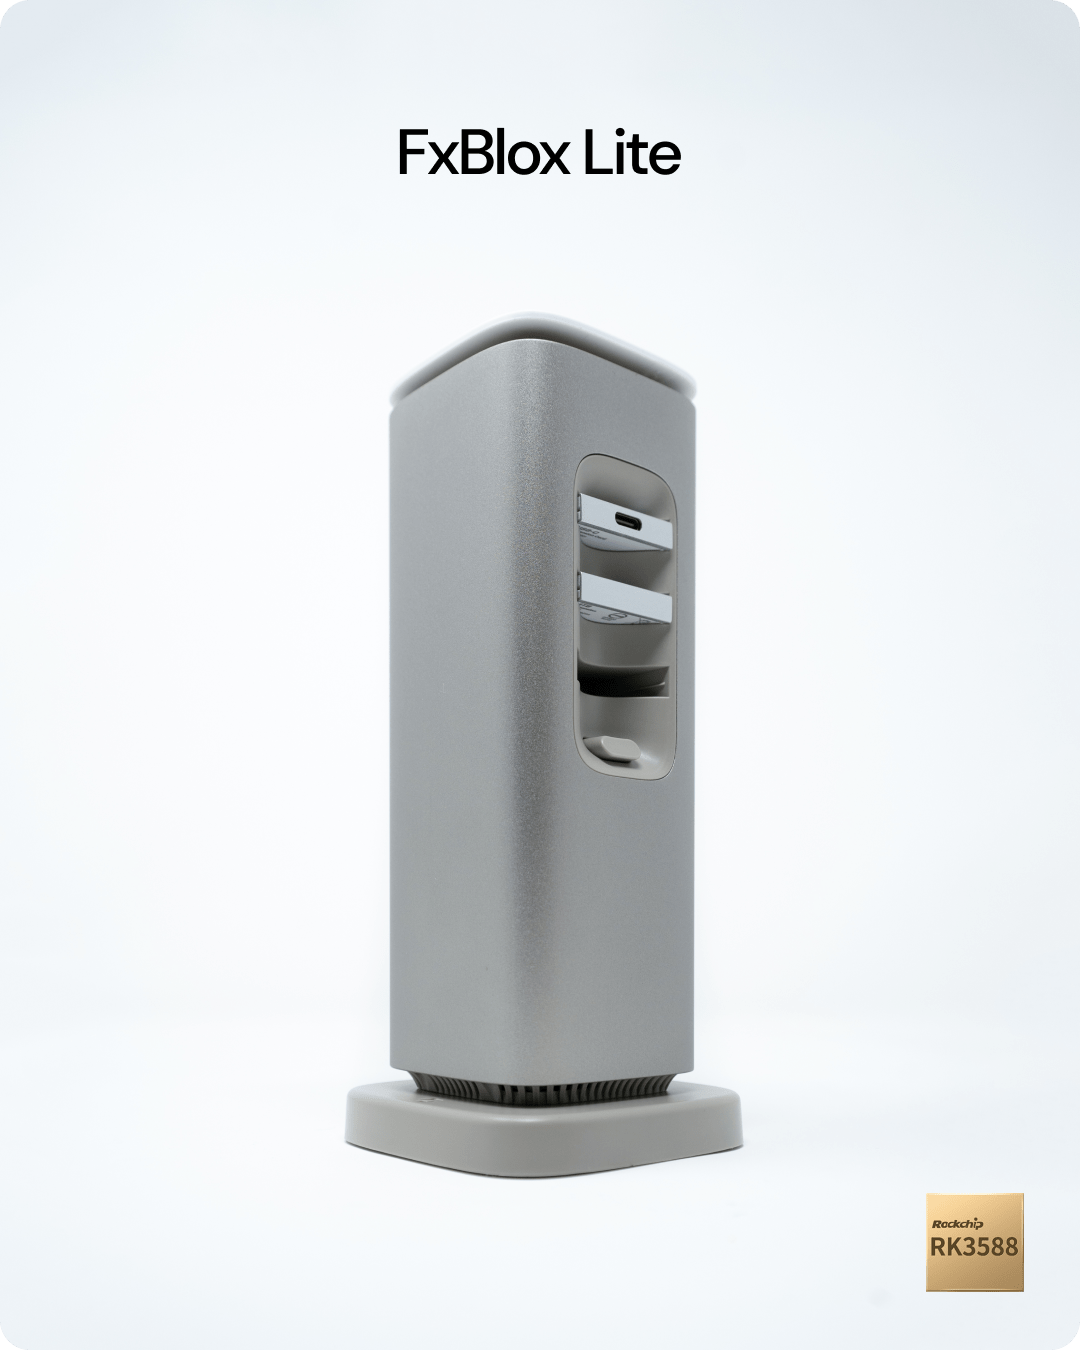


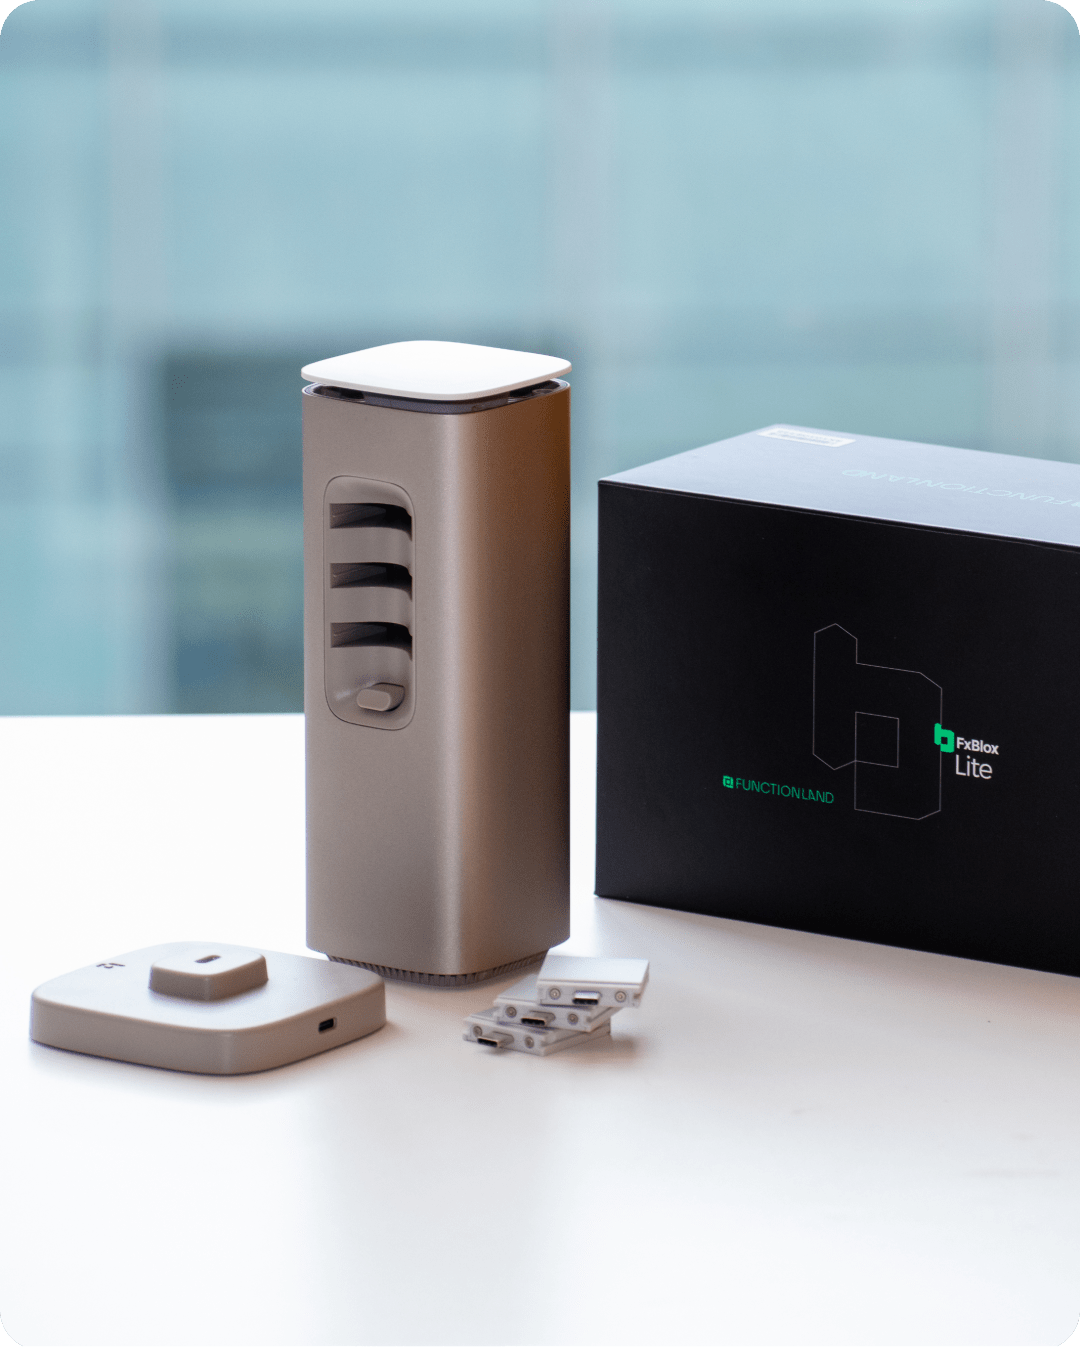
FxBlox Lite
$1,199.00 CAD (taxes excluded · approx $869 USD)
- Dual Access: Engage with FxBlox Lite on Linux Desktop or our responsive Android and iOS apps.
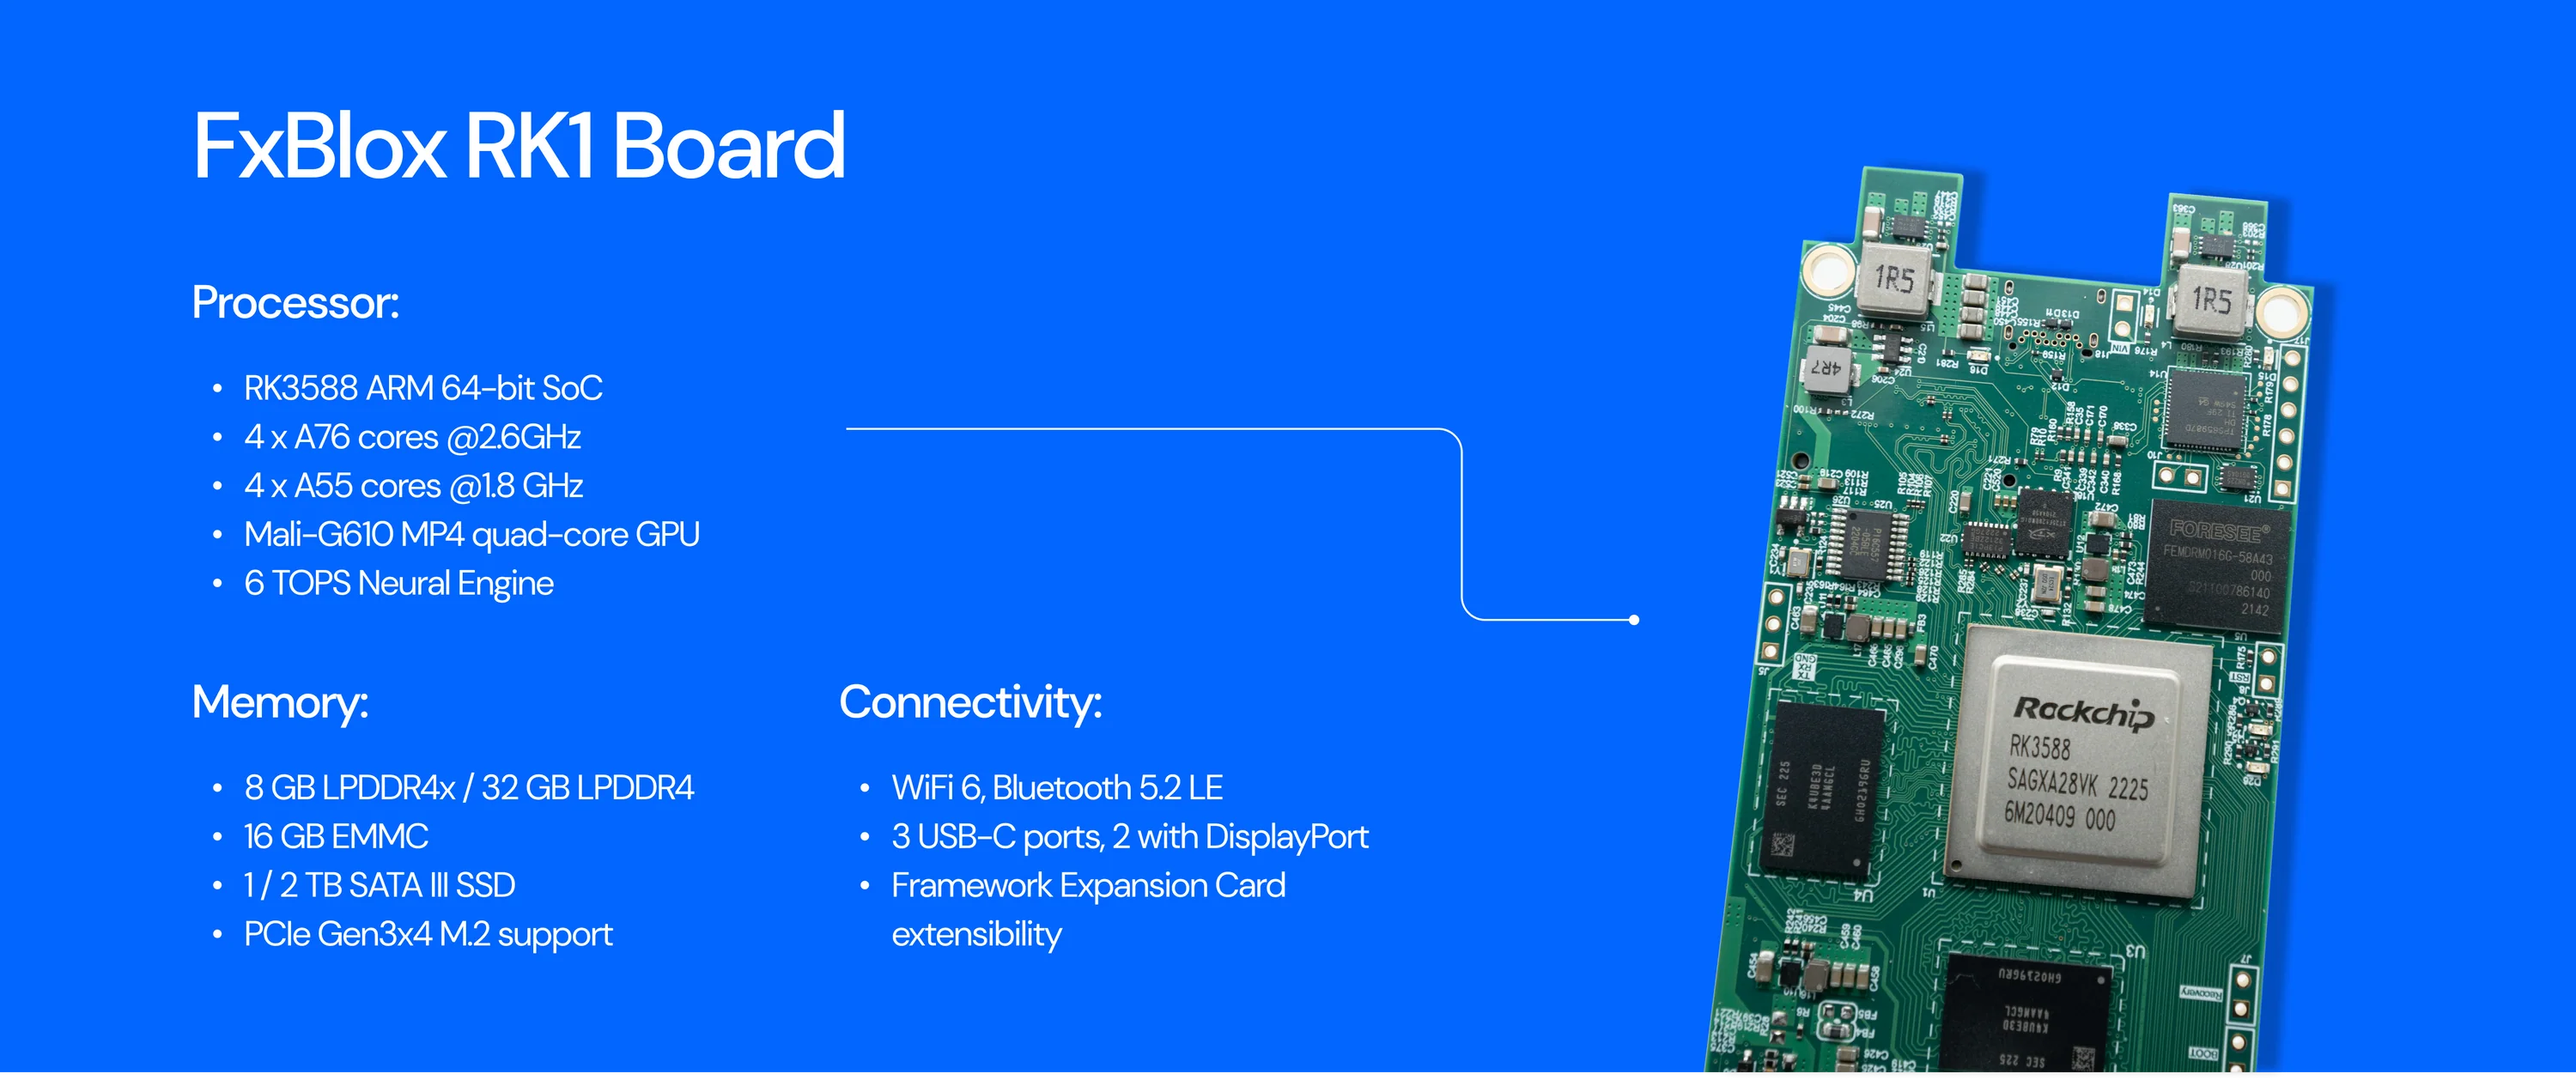
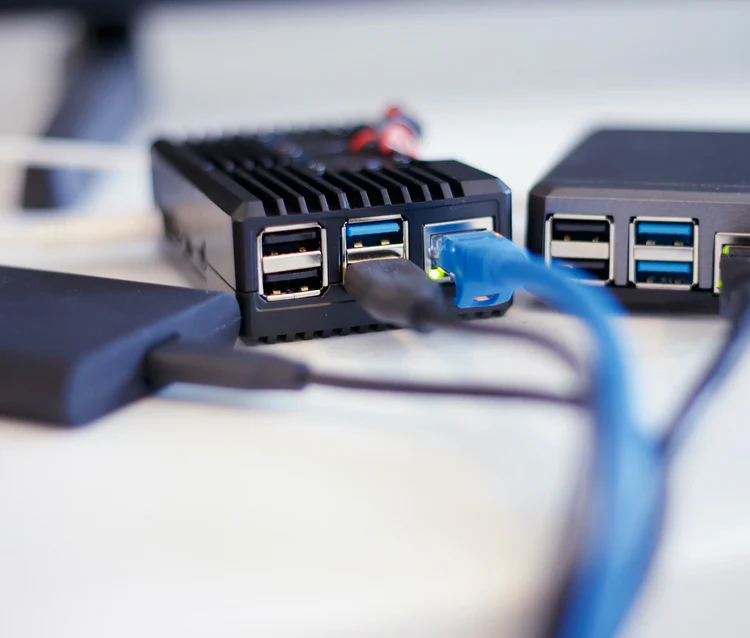
- Efficiency Meets Speed: Runs 3x faster than Raspberry Pi 4 while consuming 1/10 power of a modern laptop.
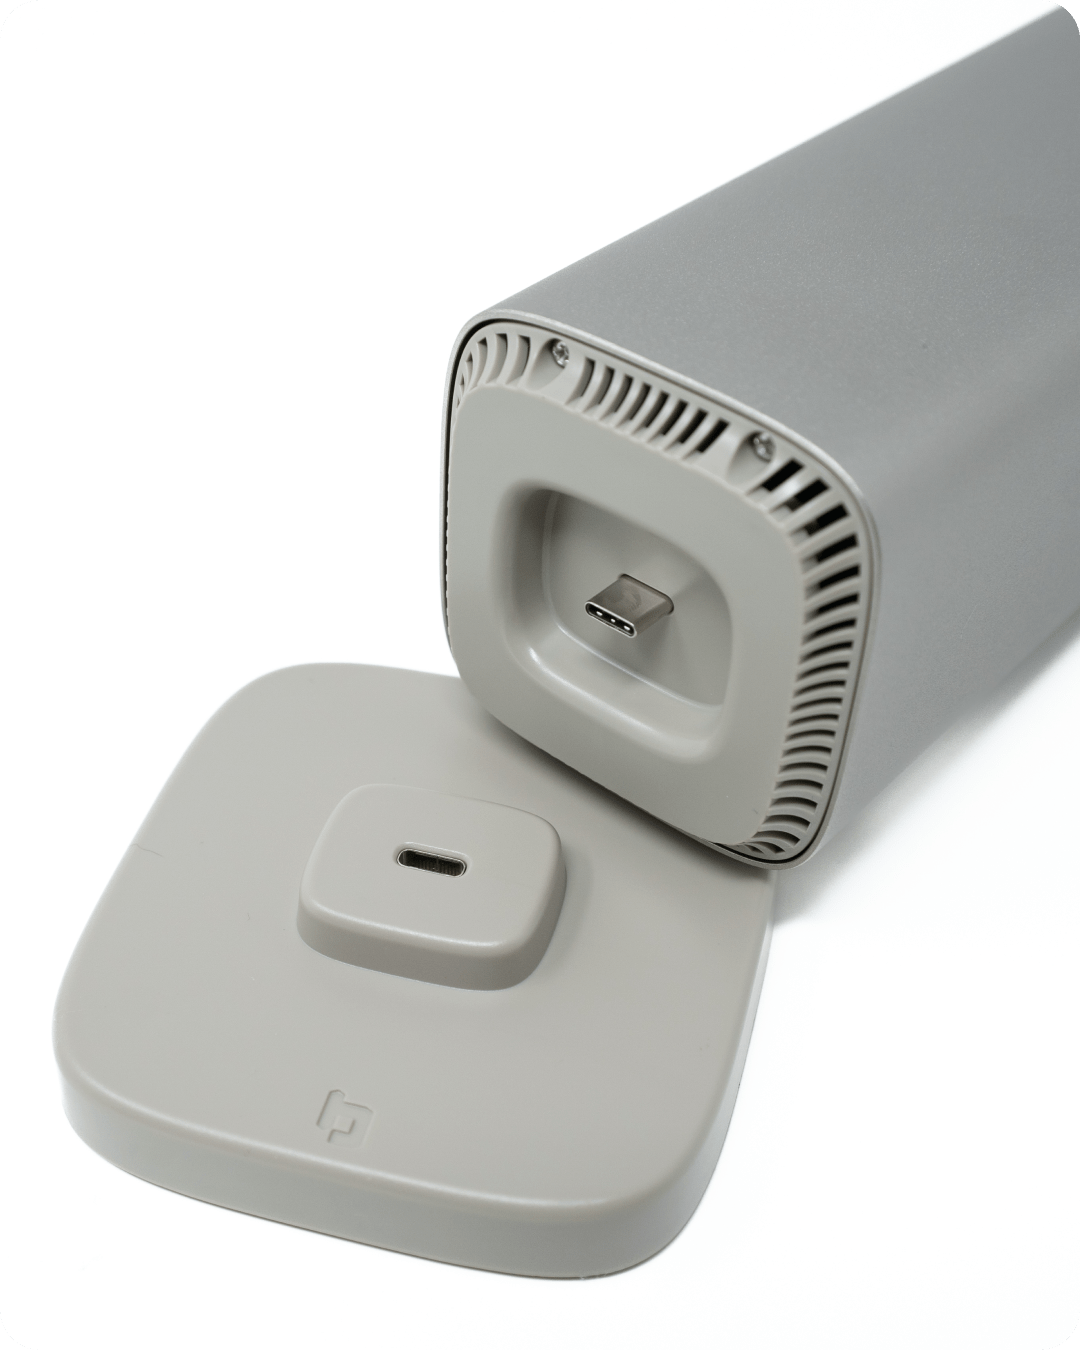
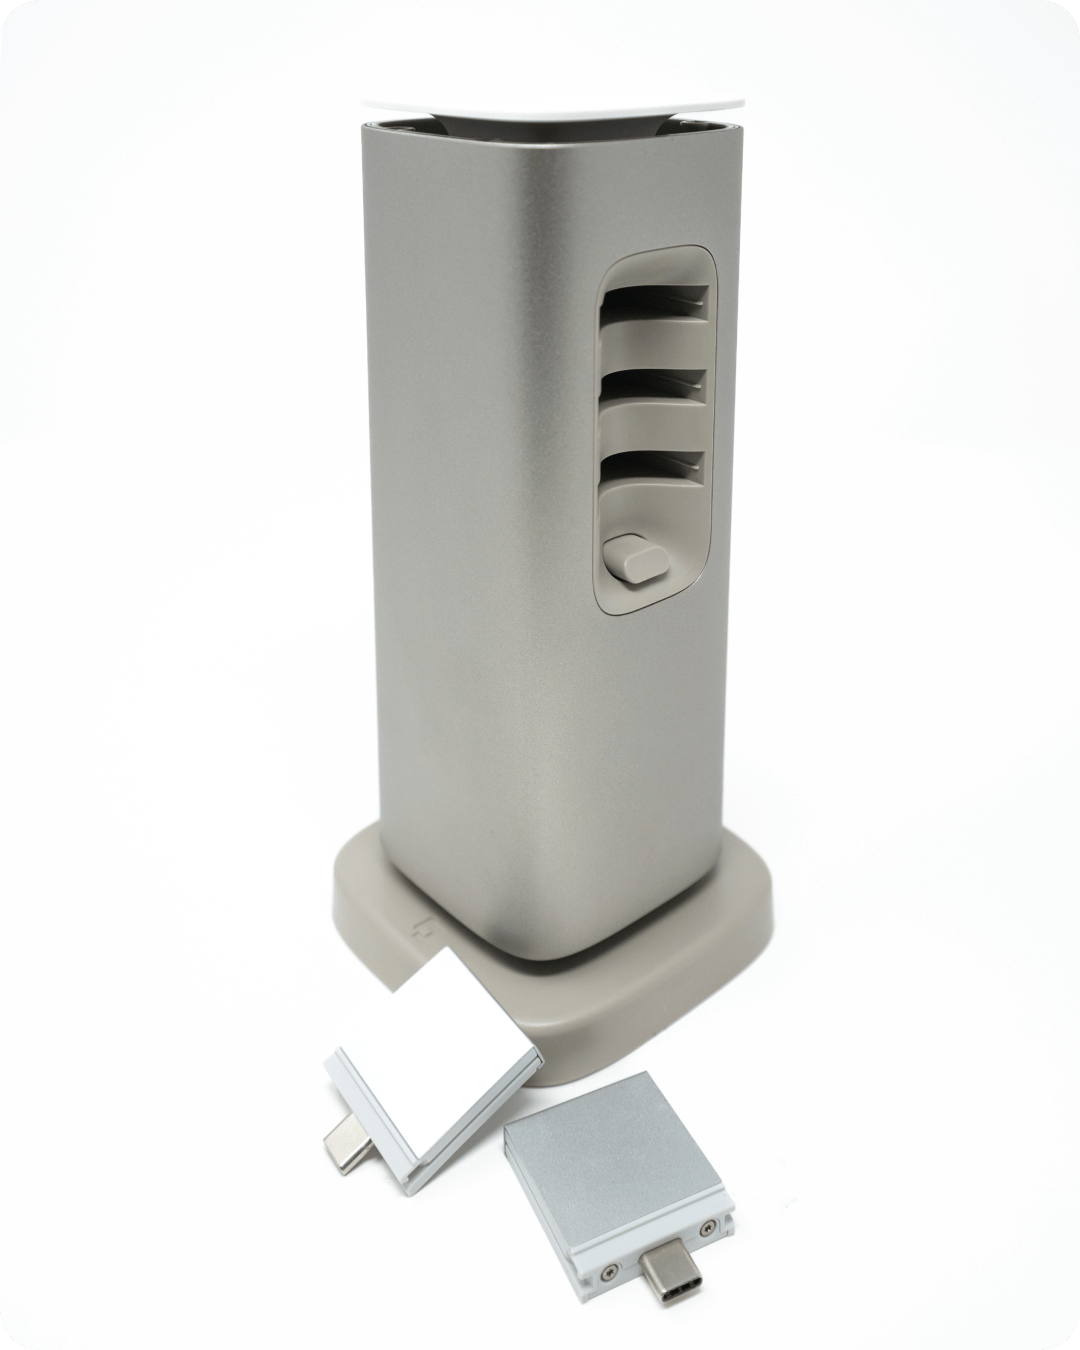
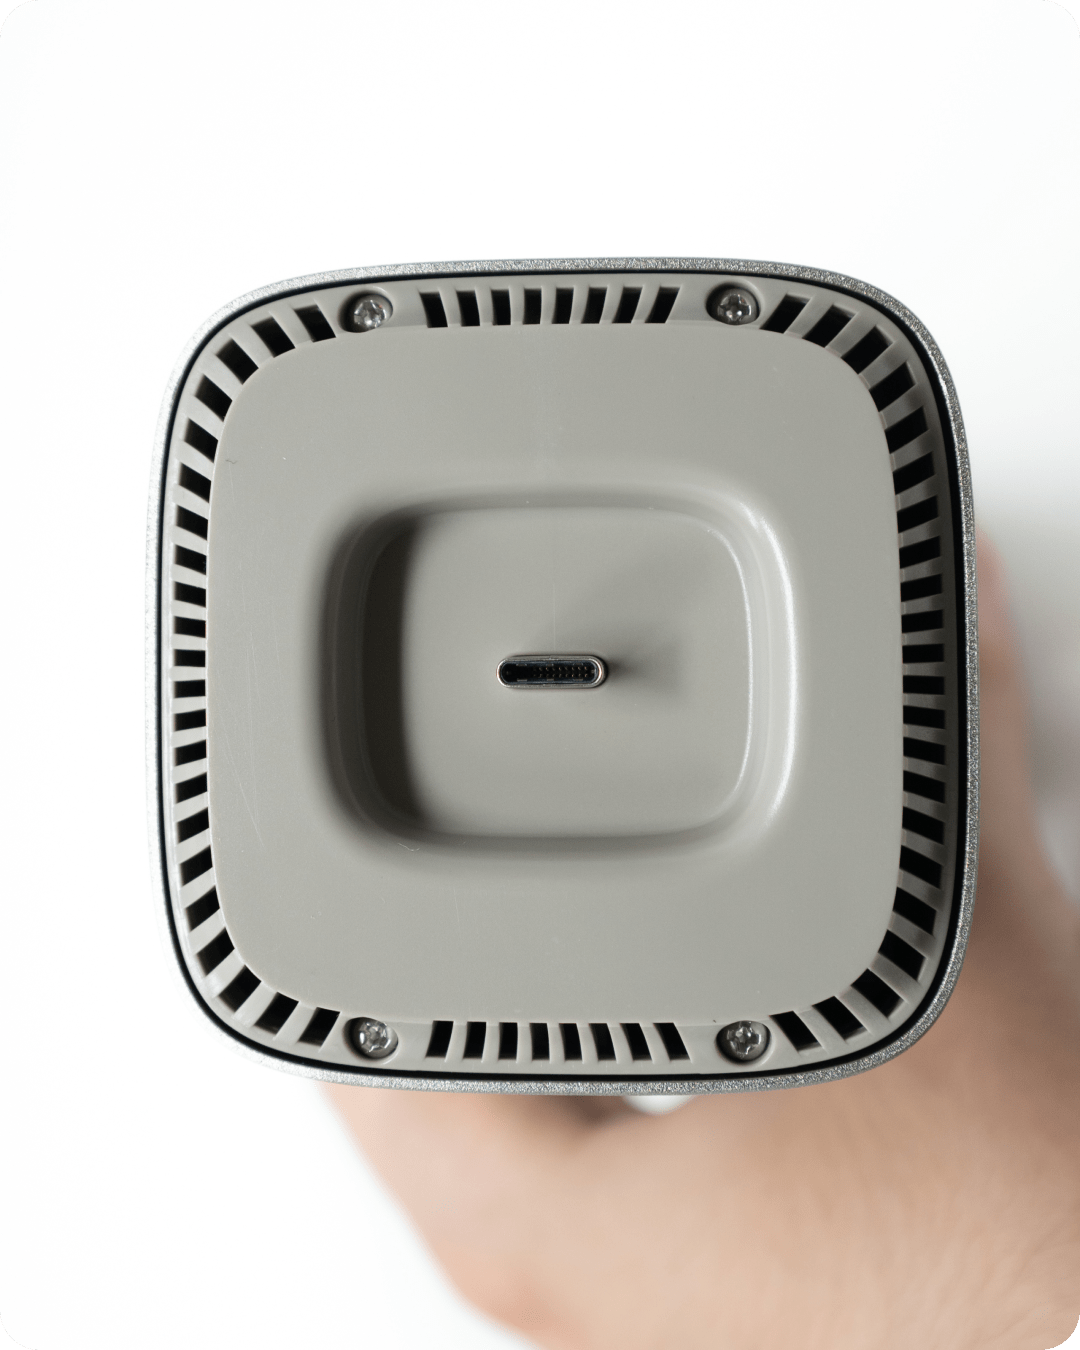
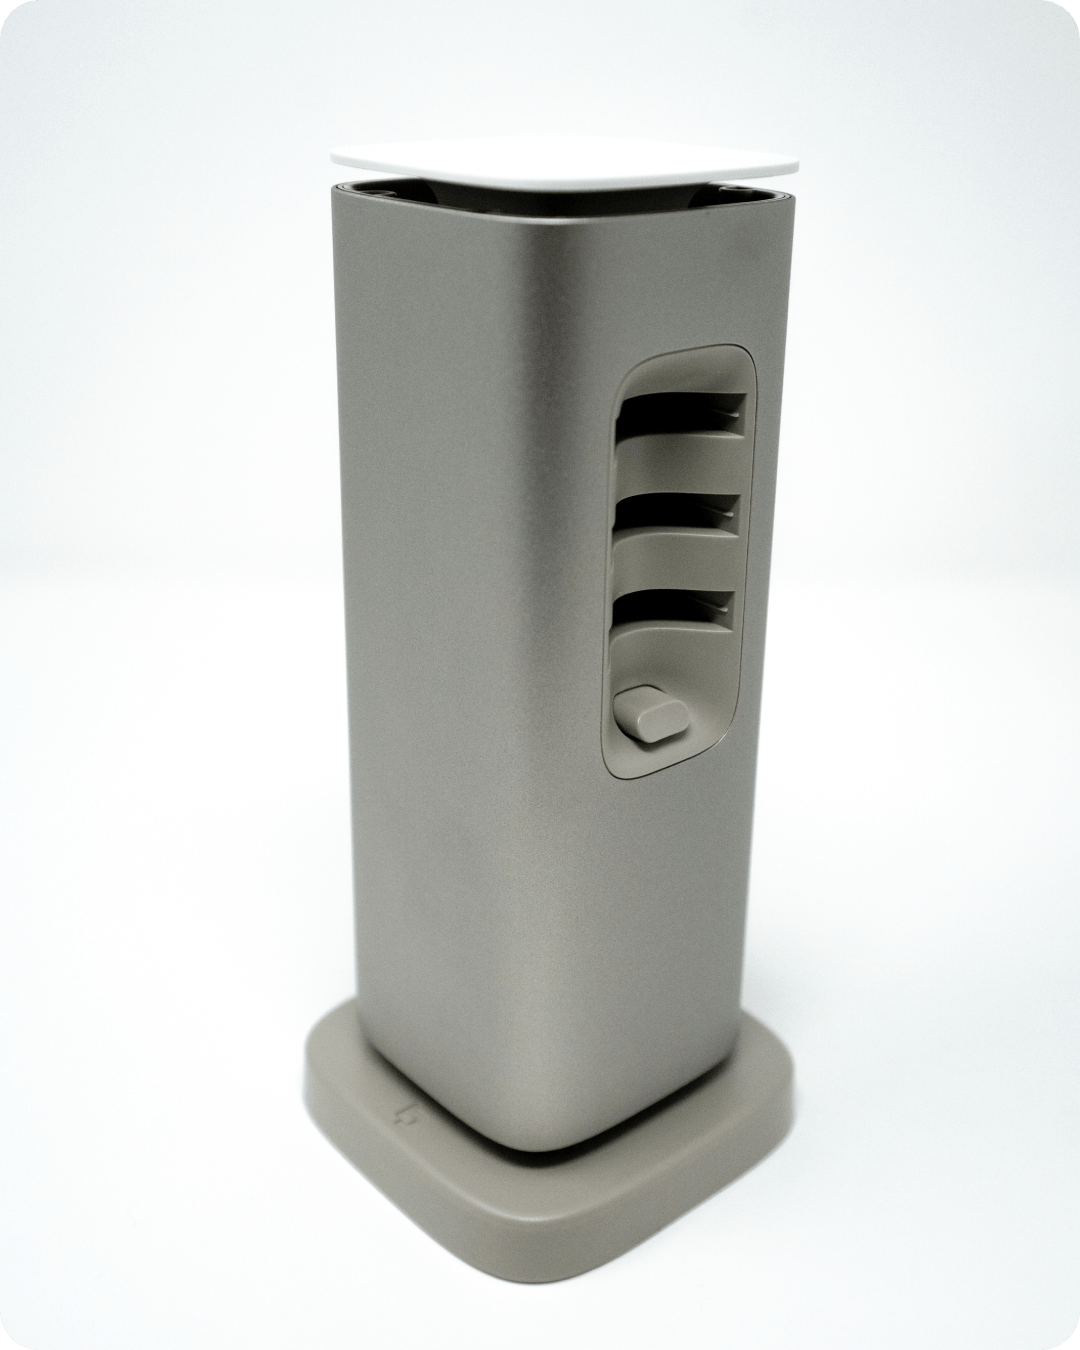
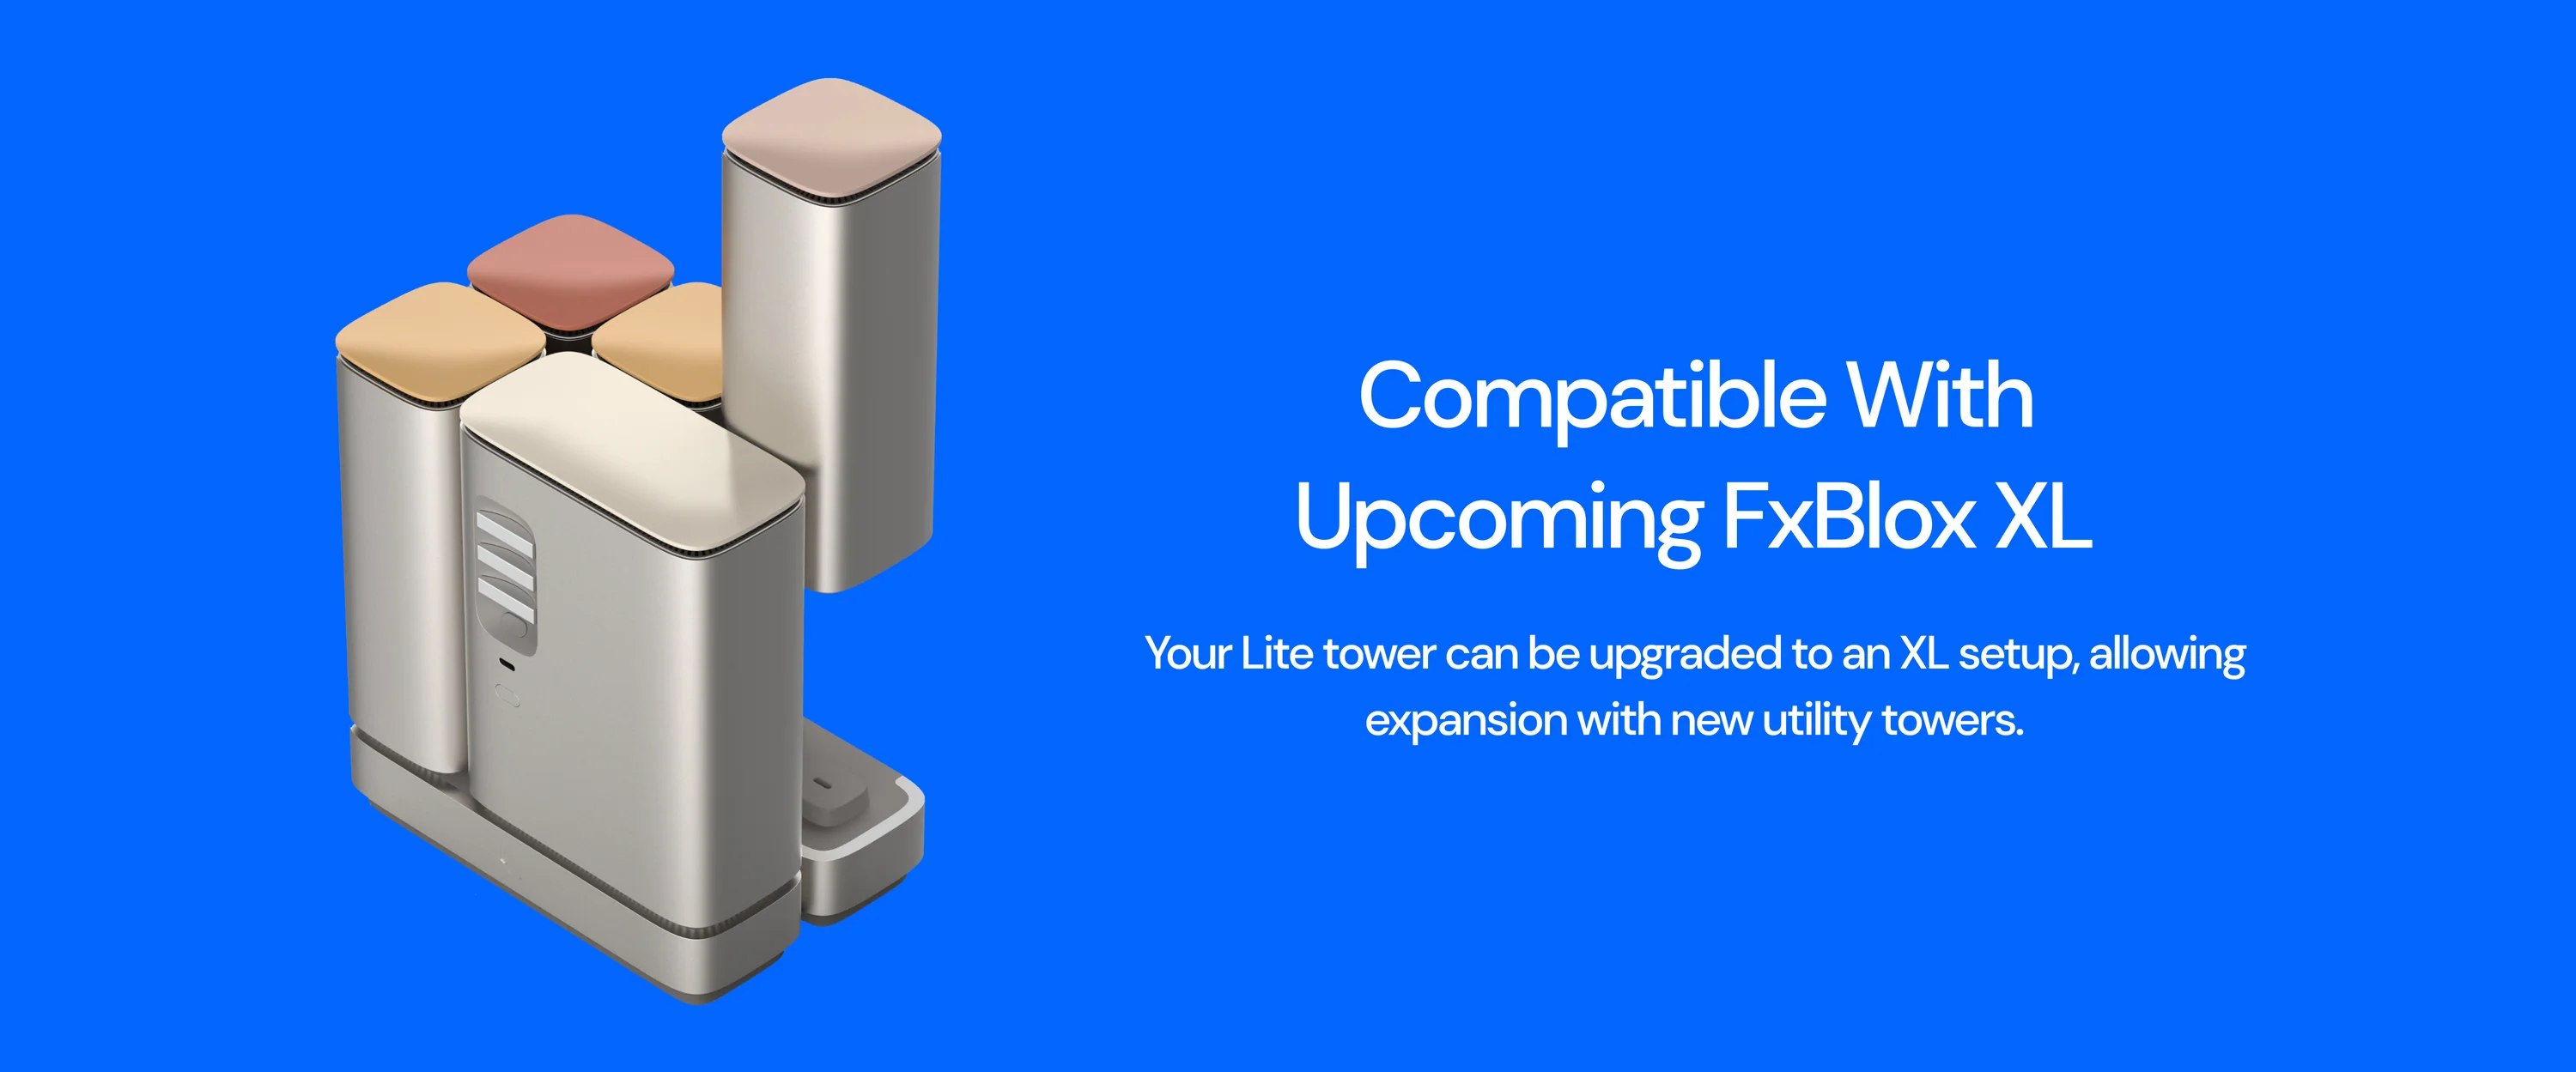
- Easy Modularity: 3 USB-C slots for effortless customization; no tools required.
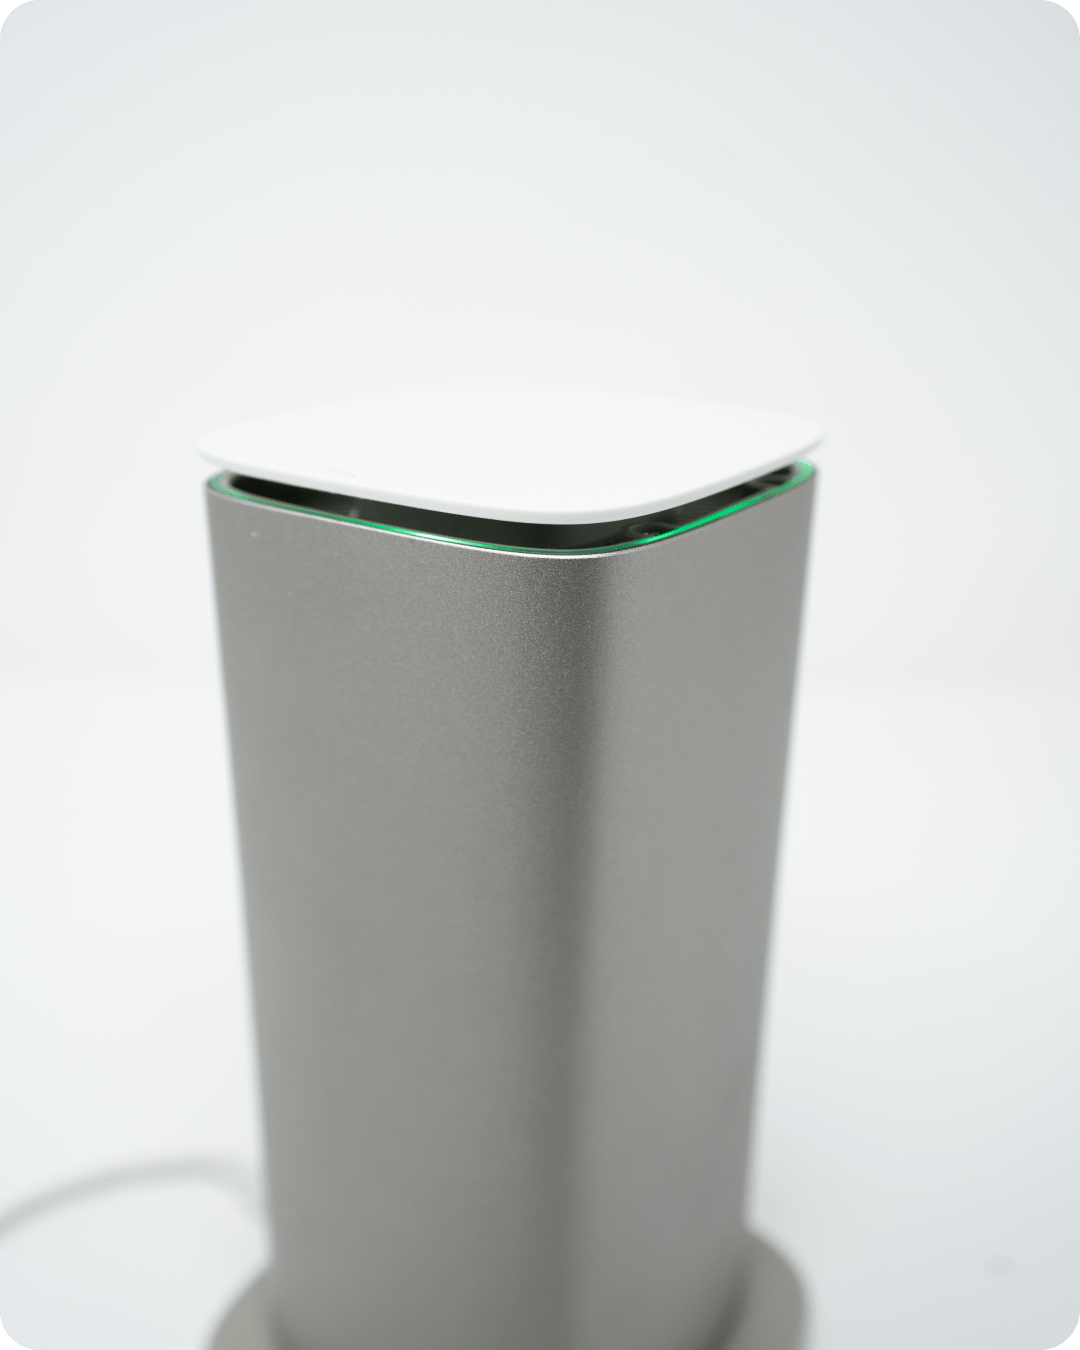
- Feature-Packed: Dual 4K, onboard storage, RGB LEDs, USB-C Power Delivery, and wireless connectivity.
- Versatile Uses: Ideal for Desktops, Streaming, Smart Home, Blockchain Nodes. Dive into open-source and say goodbye to Cloud price hikes.
Plug and Play Desktop Computer
Get started instantly. With FxBlox Lite's dual display support, multitask and manage effortlessly across screens. From editing documents and organizing tasks to diving into projects or just connecting with friends, FxBlox Lite provides a seamless experience for all users, be it hobbyists or professionals.
Cloud Storage Alternative
Turn your FxBlox Lite into a personal NAS, serving as an alternative to iCloud, Google Drive, and Dropbox. Through our collaboration with IPFS, we're gearing up for the launch of our mobile Decentralized Storage apps, FxFiles and FxFotos.
From Media Server To Gaming Station
Easily insert Framework Expansion Cards* to connect peripherals. Transform it into your in-home Media Server, a dedicated gaming console, or any other application you envision. With seamless plug-and-play adaptability, it's not just a device; it's a canvas for your digital imagination.
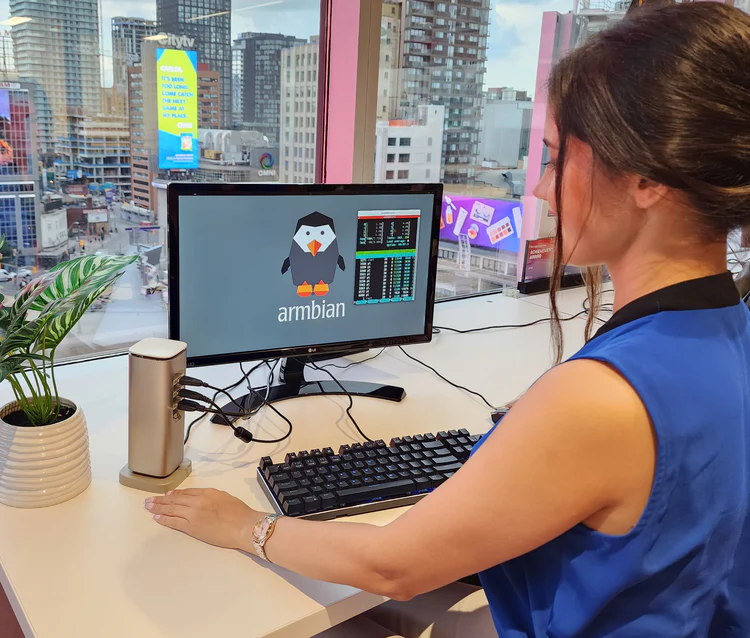
Your Developer Workstation
Crafted for coding, FxBlox Lite runs on Armbian Linux, ensuring a seamless and familiar developer environment. Whether you're debugging, testing, or deploying, benefit from a robust platform tailored to your needs. Elevate your workflow and development experience with FxBlox Lite.
Specifications
* Expansion Cards sold separately by Framework.
Power adapter and cable are not included in the package as part of our efforts to reduce electrical waste. Device needs a PD2 or PD3 adapter to function.